 |
Radiosity with Blender
By Toussaint Frédéric |
 |
|
Radiosity with Blender
By Toussaint Frédéric |
|
Use the settings shown below. You could note that I decreased the "Filter" value : this gives a more realist look to our texture.
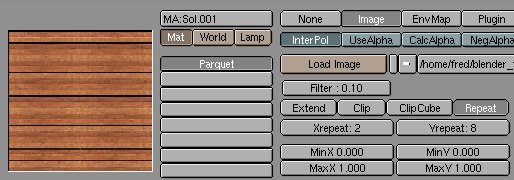
Shift back to the material buttons (F5) and activate the Col button in order for the texture to be used. I also added some bump mapping by pressing the Nor button two times. Here are the parameters I used :

You now can add a lamp in the middle of the room (at the very location of the icosphere -remember it ?), decrease its intensity to 0.4, and render a picture (F12). The lamp is strictly necessary if you want to use the reflection and the bump mapping set for your material, for example.
For a better effect, I turned the lamp into a spot, with the following values :
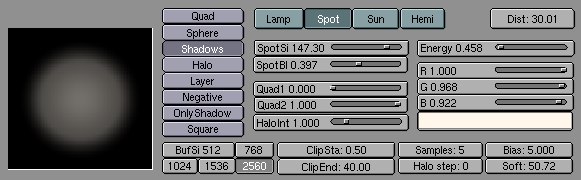
To avoid getting a too great contrast, I also added a very basic lamp with very low intensity (0.1) located before the table, out of the room.
You can now render your picture (F12) and
stare at the result. You can also move the camera and set the lighting
sources at will.
|
|