 |
Displacement Mapping with Blender
By Anthony C. D'Agostino |
 |
|
Displacement Mapping with Blender
By Anthony C. D'Agostino |
|
Other Examples
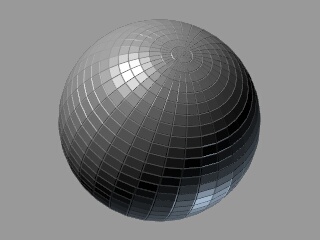
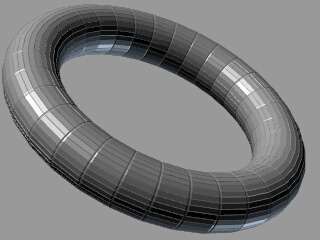
The initiated reader will soon realize that these scripts really don't need an image in order to be useful. If you run them on a flat mesh, you will just end up with a smooth sphere, cylinder, or torus. This is a rather boring result. However, it proves an important point: if you create your own special mesh, like the one shown at the top left corner, some interesting objects can be created.
Note that the mesh shown is just a very small single "tile" and that you must make several copies along the x and y axes. A quick and easy way to do this is to parent this single tile to a subdivided plane, then simply press the 'Dupliverts' button to instantly make the copies. Now select your subdivided plane and press s|c|a to convert the virtual copies into real objects. Select all of the tiles and join (c|j) them together.
An important step that I often overlook is to make sure that the center of the mesh is located at the origin. This can be done by pressing s|c and then 'Centre Cursor.' Also make sure you press c|a to apply the size and rotation of this object to the individual vertices. This will allow the newly created mesh to satisfy the requirements in Step 3 and must be done prior to running the scripts.

|
|
|