 |
MATERIALS WITHIN BLENDER
By Olivier Saraja |
 |
|
MATERIALS WITHIN BLENDER
By Olivier Saraja |
|
Introduction - Color
- Speculars - Mapping
- Channels![]()
T e x t u r e s M a p p i n g :
Textures are, fundamentally, 2D pictures, and the objects of our scenes 3D entities. Predictably, we always have to think about the good mapping we must use with our object in order to make the texture looking right. This chapter shows how works mapping within Blender.
In fact, in the Material Buttons (F5-KEY), Blender lets you make use of four types of mapping, each one shown in a separate button. We will use each of these options with the corresponding primitives, in order to understand what the best usage of these mapping settings should be.
![]()
For a start, let's get a clear (and very visual) texture.

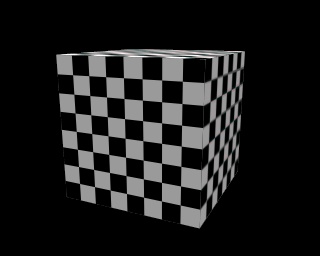
In this demonstration, I created four primitives issued from Blender : a plane, a cube, a cylinder and a sphere. For each of these, I made a render after having toggled from a mapping option to another. The pictures below are self explanatory.
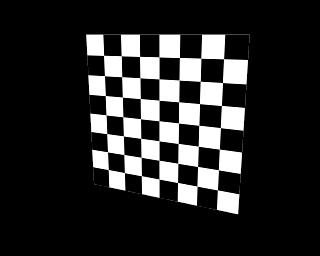
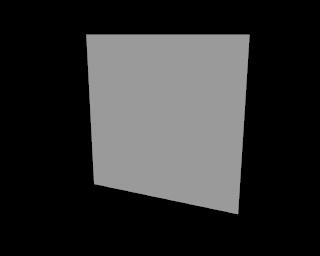
Flat
 .
. .
. .
.
If we want to understand how the Flat option maps the textures, we should figure how works a cine-projector on the screen... We should also note that the mapped texture is also visible from the 'back' of the object, e.g., the texture is seen 'through' the object.
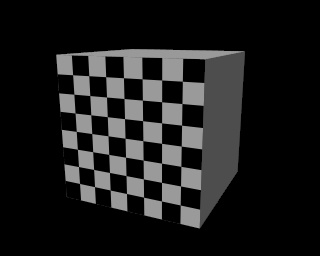
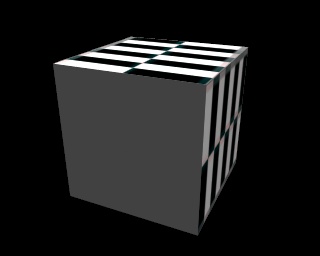
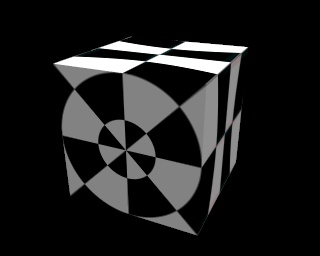
Cube
 .
. .
. .
.
The Cube option forces the display of the texture in the six directions. This is why the cylinder can show texture on its curved part, and why the cylinder shows a texture discontinuity.
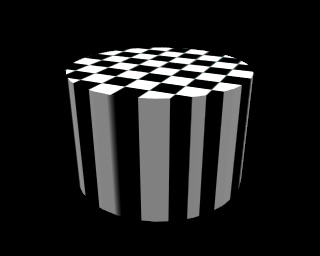
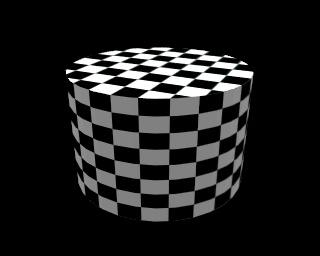
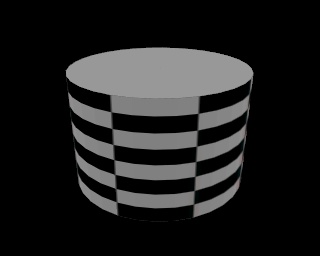
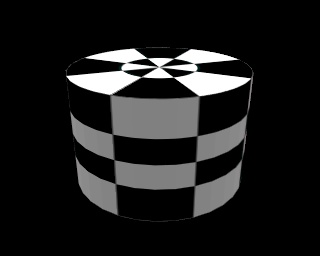
Tube
 .
. .
. .
.
The Tube option can be compared to a paper sheet rolled in the direction of its wideness, with both ends perfectly joining. The results on the plane and cube primitives are interesting to note : the virtual paper sheet is rolled around the front plane surface.
Sphere
 .
. .
. .
.
The Sphere option works the same way as the previous option,
but this time, the paper sheet is rolled both in the wideness and in the
length directions. Again, the results on the plane and cube primitives
are interesting to note.
|
|