 |
Mastering Shadows
By Olivier Saraja |
 |
|
Mastering Shadows
By Olivier Saraja |
|
Basic knowledge
In order to calculate shadows, Blender
uses the shadow buffer algorithm. This means that the scene is rendered
from the point of view of the Spot, and that Blender calculates which object
is placed before the other on its linesight, thus defining which pixels,
'hidden' from the spot/camera sight by anyone object, will receive shadow
in the final render.
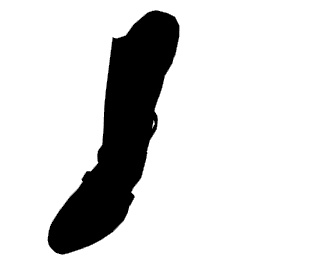
The way it operates could be explained like this, even if it is far from being accurate and involves different mechanics (like storing a pixel distance from the Spot, for example) : in our example picture, here's a render from the Spot point of view of what the shadow cast by the foreground boot could look like. Given that the light (white) values are discarded, this picture could be 'mapped' on the objects located behind the boot, with the Spot origin as coordinates for the texture's own origin, with the shadow color adding to the base color of the object.
Of course, if there are many Spots in the scene, Blender 'renders' the scene as many times, from each Spot point of view, and stores the results in its shadow buffer in order to bestow light or shadow values accordingly to each pixel of the final render. This is why multiple Spots add to the rendering time.
With this in mind, it is now easier to
understand the use of some instrumental buttons and sliders from the Lamp
Buttons (F4-KEY). In fact, the parameters we will deal with thereafter
are set individually for all the Spots of a given scene.
|
|
|