With the DrakX installation program, it doesn't matter whether you're a newbie or a GNU/Linux guru. The job of DrakX is to provide you with a smooth installation and an easy transition to Mandriva Linux's latest version.
Procedure 16.1. Begin Installation
-
Stop the Timer
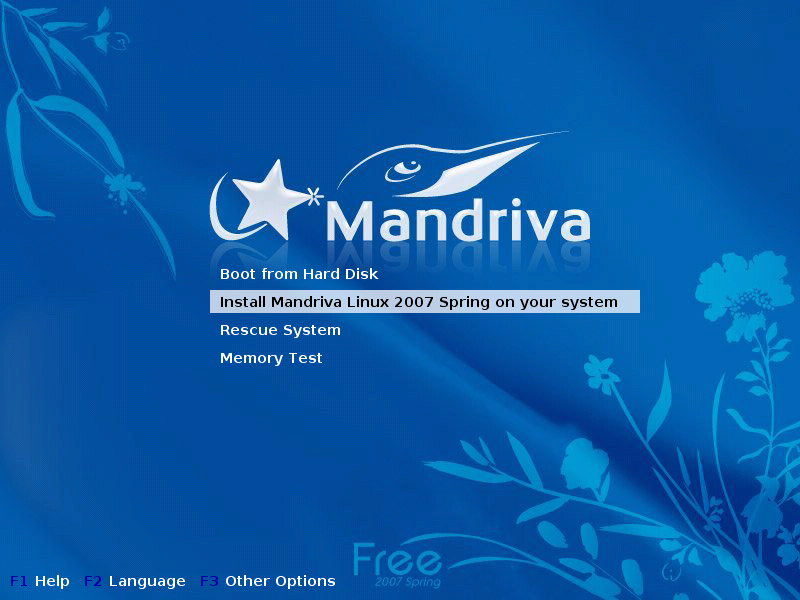
Press any keyboard key (except Enter) when you see Mandriva's welcome screen appear (Figure 16.1, “First Installation Welcome Screen”). The first screen offers a list of various possible actions, and if you do nothing, the first option (Boot from Hard Disk) is carried out when the timer expires.
-
Choose your Language
Press the F2 key to have all options displayed in your language. Simply select your language by using the up and down arrow keys, then press Enter.
-
Start Installation
Simply select the Installation option on the list, and press Enter.
![[Tip]](images/tip.png) |
If Something Goes Wild |
|---|---|
In case this default procedure does not work for you, read Section 1.2, “Startup Options”. |
When the installer starts, you see a nice graphical interface (see Figure 16.2, “Choosing the Default Language”). On the left are the various installation steps, the current one marked by a highlighted bullet. The installation occurs in two phases: installation, then configuration.
Steps and Substeps. Each step may present various screens. You can surf between those screens with the and buttons. Additionally an button may be available to show more advanced configuration options. Note that most of the latter should only be used by expert users. But there's no harm in looking at them!
If something goes wrong during the first installation attempt, boot again from the CD, and depending on your problem, try one of the Fx options at the bottom of the screen. Select an option and press F1 to get more information about what that specific option does.
Boot Options. This line contains the options passed on to the kernel that will be used for the selected action. Most machines don't require specific kernel options.