This set of tools allows you to configure your graphical display. With it, you can change your video card, your resolution and your monitor. It can be useful if you change one of your graphical components after the initial installation.
![[Tip]](images/tip.png) |
If you don't see a graphical login at boot |
|---|---|
If the graphical server cannot start because of a configuration error, a dialog offers to reconfigure the graphical server. You get a tool similar to the one described in Section 2.3, “Controlling All Video Parameters”, but in text mode. |
The graphical configuration tools are accessible through different icons in the Hardware section of the Mandriva Linux Control Center.
![]() This tool allows you to change
the monitor type currently in use. When you click on it, a
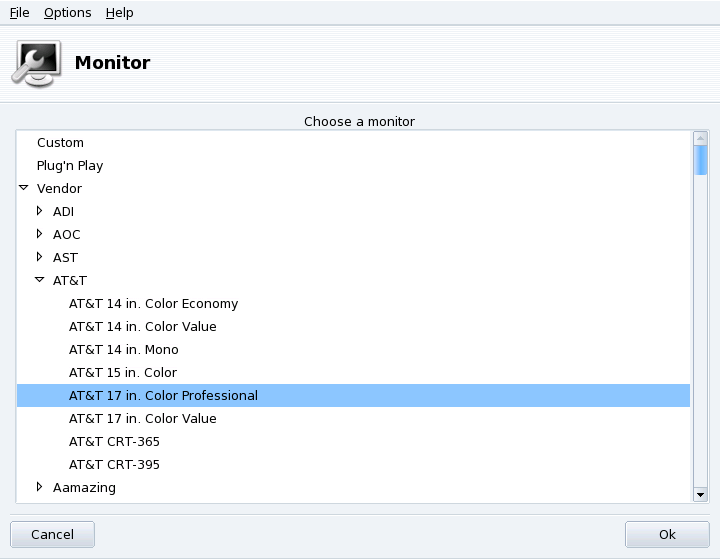
window pops up, listing many monitor models (see Figure 3.2, “Choosing a New Monitor”). If your monitor was
automatically detected, it is listed as
Plug'n Play along with its model.
This tool allows you to change
the monitor type currently in use. When you click on it, a
window pops up, listing many monitor models (see Figure 3.2, “Choosing a New Monitor”). If your monitor was
automatically detected, it is listed as
Plug'n Play along with its model.
If your monitor wasn't automatically detected, you can choose it from the list. If you don't find your monitor or a compatible one, choose one with parameters corresponding to the monitor from the Generic entry, at the bottom.
![]() This tool enables you to change the
current screen resolution (
This tool enables you to change the
current screen resolution (800x600,
1024x768, 1152x864, etc.)
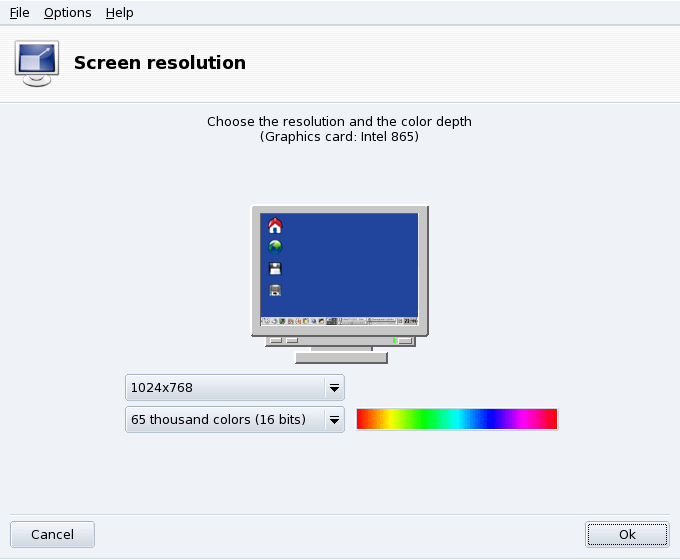
and the color depth. Simply choose the one you want to
use.
The monitor in the window displays what the desktop will look like with the chosen configuration (see Figure 3.3, “Changing the Resolution of Your Screen”). If it looks good, click OK. The changes will be activated after you quit and restart your graphical environment.
Monitor and Resolution Ratio. By default, the available
resolution list only shows resolutions supported by your video
card and monitor combination. There is a special entry
named Other that adds more possible
resolutions along with their ratios. Bear in mind that most
monitors are designed with a 4:3 horizontal
vs. vertical ratio.
![]() If you change your
video card after installing your system, or want to have full
control over the graphic configuration, run this tool.
If you change your
video card after installing your system, or want to have full
control over the graphic configuration, run this tool.
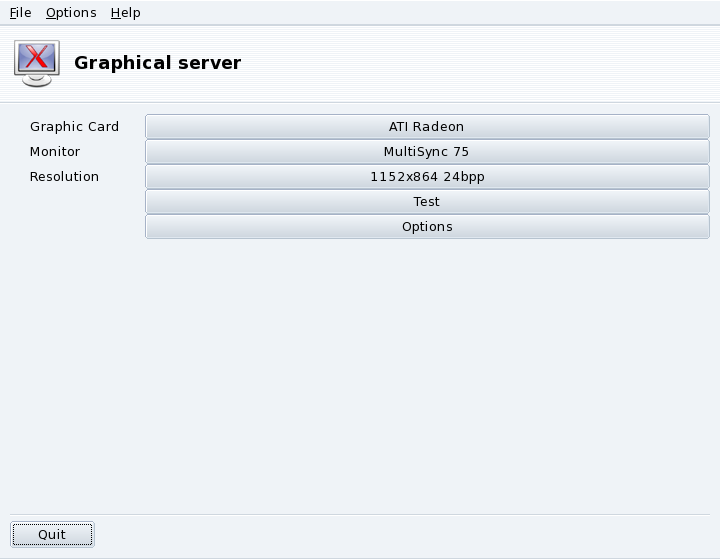
The buttons allow you to change aspects of the graphical configuration:
- Graphic Card
-
The button displays the name of the graphic card currently configured. Click on it if you want to change it. Depending on your card, different servers may be available, with or without 3D acceleration. You may need to try different ones until you get the best result.
In case you cannot find the graphic card you have, but you know which driver supports it, select it from the Xorg entry at the bottom.
- Monitor
Enables you to change the monitor with the tool described in Section 2.1, “Changing the Monitor”.
- Resolution
Enables you to change the pixel resolution and the color depth with the tool described in Section 2.2, “Changing the Resolution”.
Other buttons are also available:
-
Allows you to verify that your modifications actually work. It is highly recommended that you do test it, because if it does not work, it will be harder to recover a working graphical environment later. If the test fails, simply wait until it ends. If you are not satisfied with the suggested settings, choose during the test, and you will return to XFdrake's main menu.
- Graphic card options
Depending on your hardware capabilities, you can choose to enable or disable specific features such as 3D acceleration or special visual effects (translucency).
- Graphical interface at startup
Use this option to choose whether you want your machine to automatically switch to a graphical interface at boot. Obviously, you may want to select the No option if your machine is to act as a server, or if you were not successful in getting the display configured.
If you modify your graphical display in some way, the current configuration is displayed and XFdrake asks you whether you want to keep your changes or not. This is your last chance to go back to the old configuration. If all seems OK, click on . If you want to restore the previous parameters, click on .
The changes are activated after you confirm them and you restart your graphical environment.


![[Note]](images/note.png)