|
|
The
'World' buttons within Blender |
|
|
|
The
'World' buttons within Blender |
|
|
|
|
|
|
|
|
|
|
|
S t e p 2 :
|
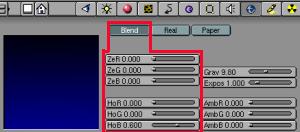
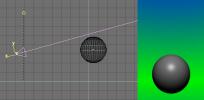
The 'Blend' button: When it is set 'on', the world then uses two colors. The first three sliders (Ze) controls the color of the Zenith, while the three next sliders (Ho) controls the Horizon color. Blender automatically set a blending based upon these two colors between the zenith and the horizon. If you make use of textures, 'Ze' and 'Ho' colors can mix with the textures. This way, no shadow would be cast on the ground. This method is mainly used when you have objects floating in space rather than objects stuck into the ground. Furthermore, during an animation, horizon line can have a strange behavior when you use it along with a 'terrestial' scene. Used along with the 'Blend' button, the 'Real' button is used to relocate the horizon line according to the location of the camera. Blender seems to behave strangely about this. Set this button 'on' and the 'Ze' and 'Ho' colors will switch if the camera points up or down. Just try many camera angular positions to see this by yourself, or check the pics below... |
|||
|
|
|
|
|
|
|
|||
|
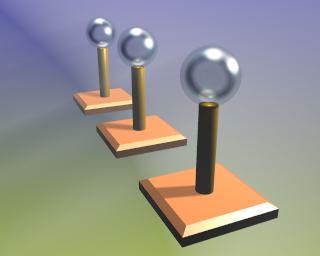
When the 'Blend' button is set 'off', 'World' is given the color set by the three Ho (Horizon) sliders. It is safer to set to 0 the three Ze (Zenith) sliders and to forget about the 'Real' and 'Paper' buttons which then will make sense only if used along with textures instead of colors. The following two examples intend to show (on the left) that shadows don't mess with the environment set, while it's not the case when using Halos (on the right). |
|||
|
|
|||
|
|
|
||
|
The sliders: |
|||
|
|
|||
|
|||
|
|
|||
|
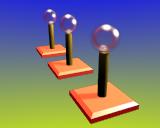
On the left thumbnail, the red 'Amb' slider is set to the maximum in the 'World' buttons, and the Ambiant slider in the 'Material' buttons is set to 0 for the cylinder. On the right thumbnail, the setting is exactly the same except for the 'Amb' slider that is set to the maximum. |
|||
|
|
|||
|
|
|
|


 Colors
and general parameters:
Colors
and general parameters:
 The
'Paper' button will set the horizon line at the center of the
screen, whatever is the current Location/Rotation of the camera.
Used along with the 'Blend' and 'Real' buttons, you could get
something like this.
The
'Paper' button will set the horizon line at the center of the
screen, whatever is the current Location/Rotation of the camera.
Used along with the 'Blend' and 'Real' buttons, you could get
something like this.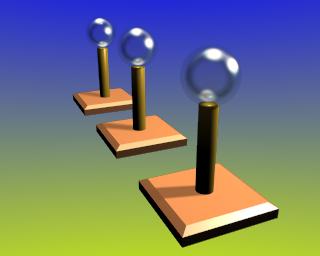
 Grav:
Grav: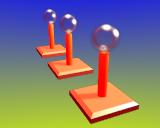
 Amb:
Amb: